Highlight with Fresnel Effect
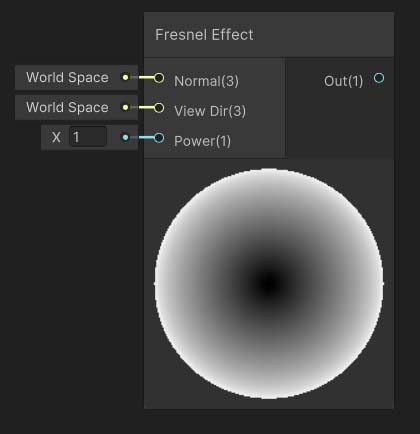
First, create a Fresnel effect node.
The function of this node is to make the surface color darker, if our viewing angle is parallel to the surface plane (viewing sideways) and brighter if our viewing angle is perpendicular to the surface plane (viewing straight).
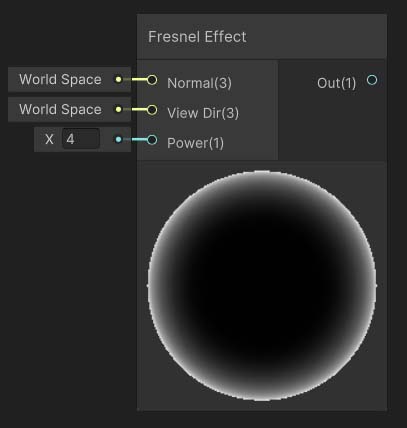
We can increase the ‘Power’ input of the Fresnel node to make the brighter region concentrated more towards the edge. This Power value will now determine the highlight width.


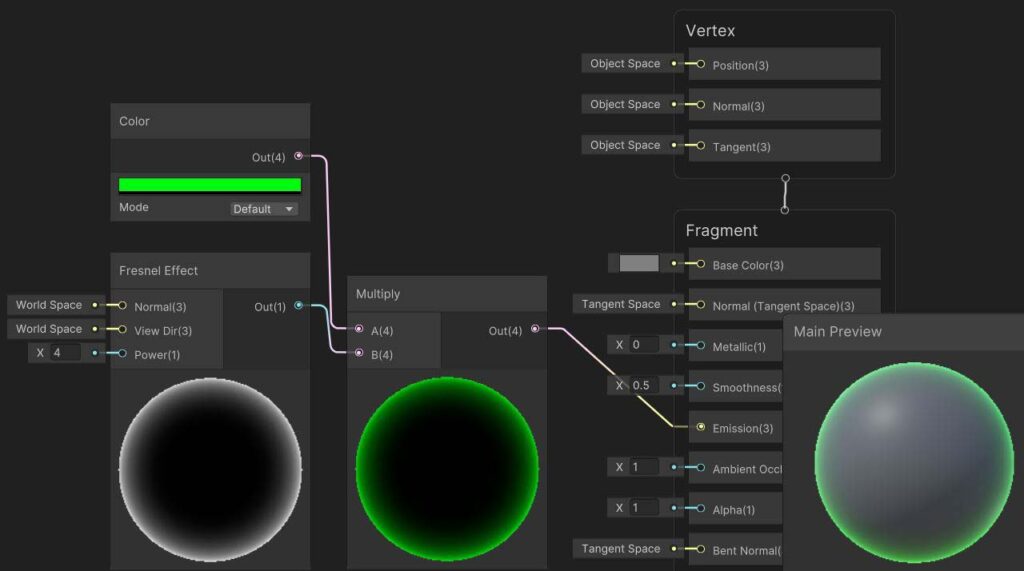
Multiply the output with your desired outline color, using the ‘Color’ node.

Assign this output to the ‘Emission’ input of the Master node of the shader graph. Now you can see in the Main Preview, that our desired highlight effect is achieved.

Adding texture
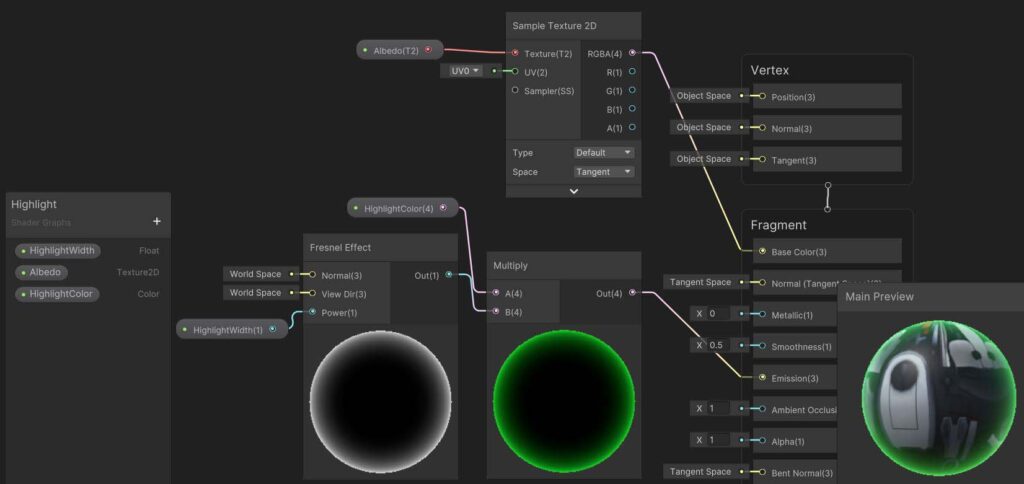
If you also want to render textures along with the highlight, just sample the texture using the ‘Sample Texture 2D’ node and assign the output to the master node’s ‘Base Color’ input.
Finally, make the ‘Power’ (outline width), ‘Outline Color’, and ‘Albedo’ (Texture input) as properties in the Blackboard, to be exposed in the material inspector.


